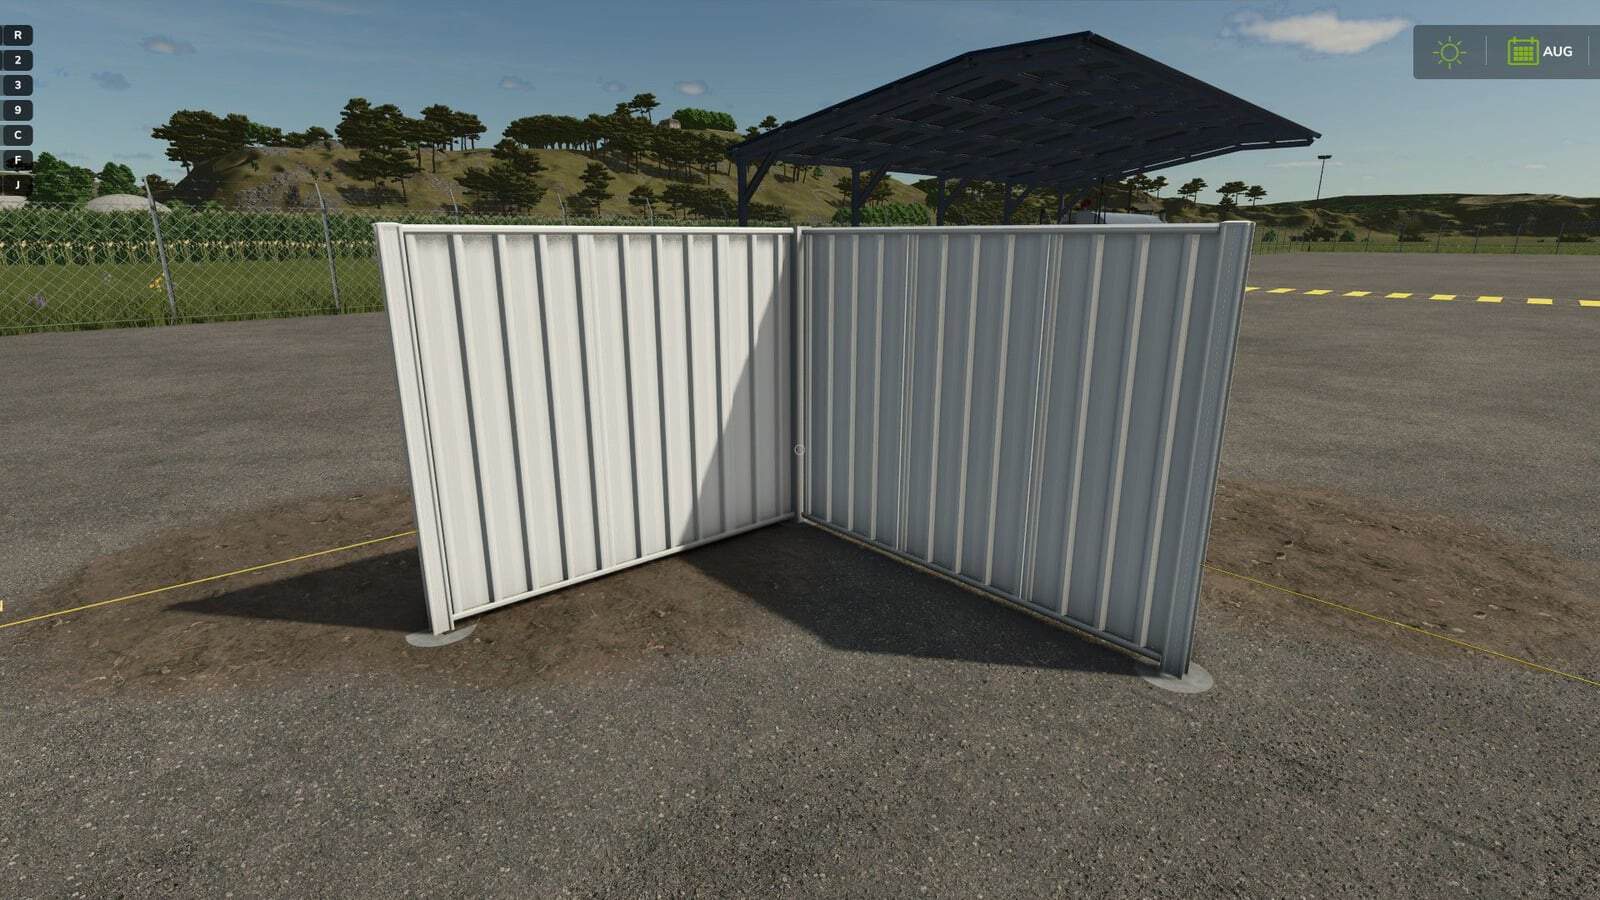
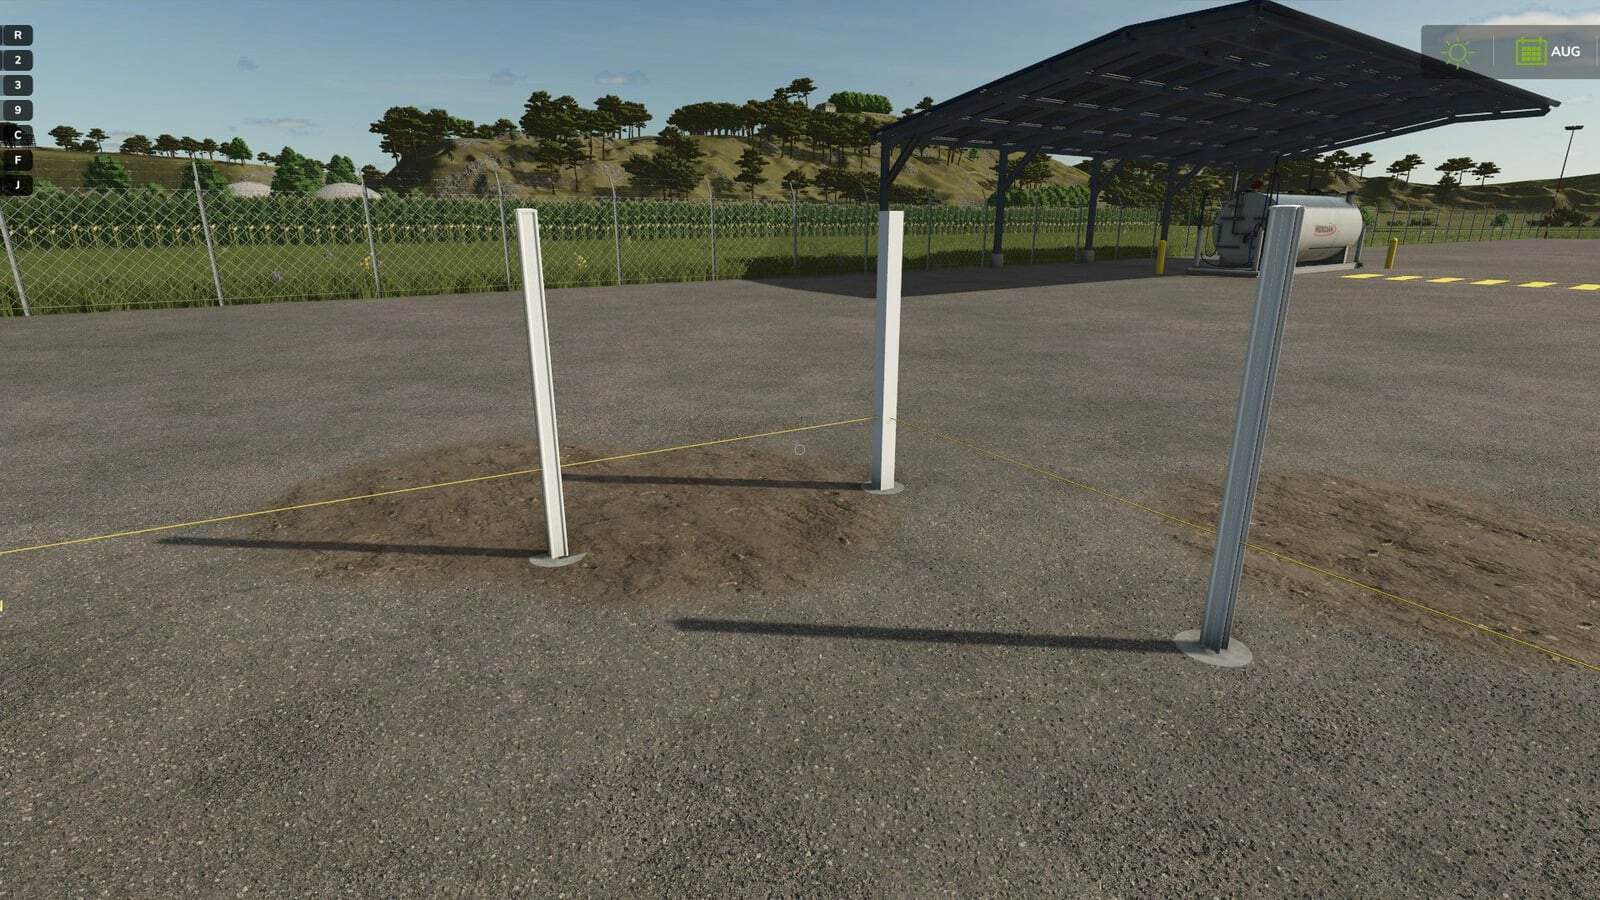
FS25 Aussie Fencing Build Kit BETA
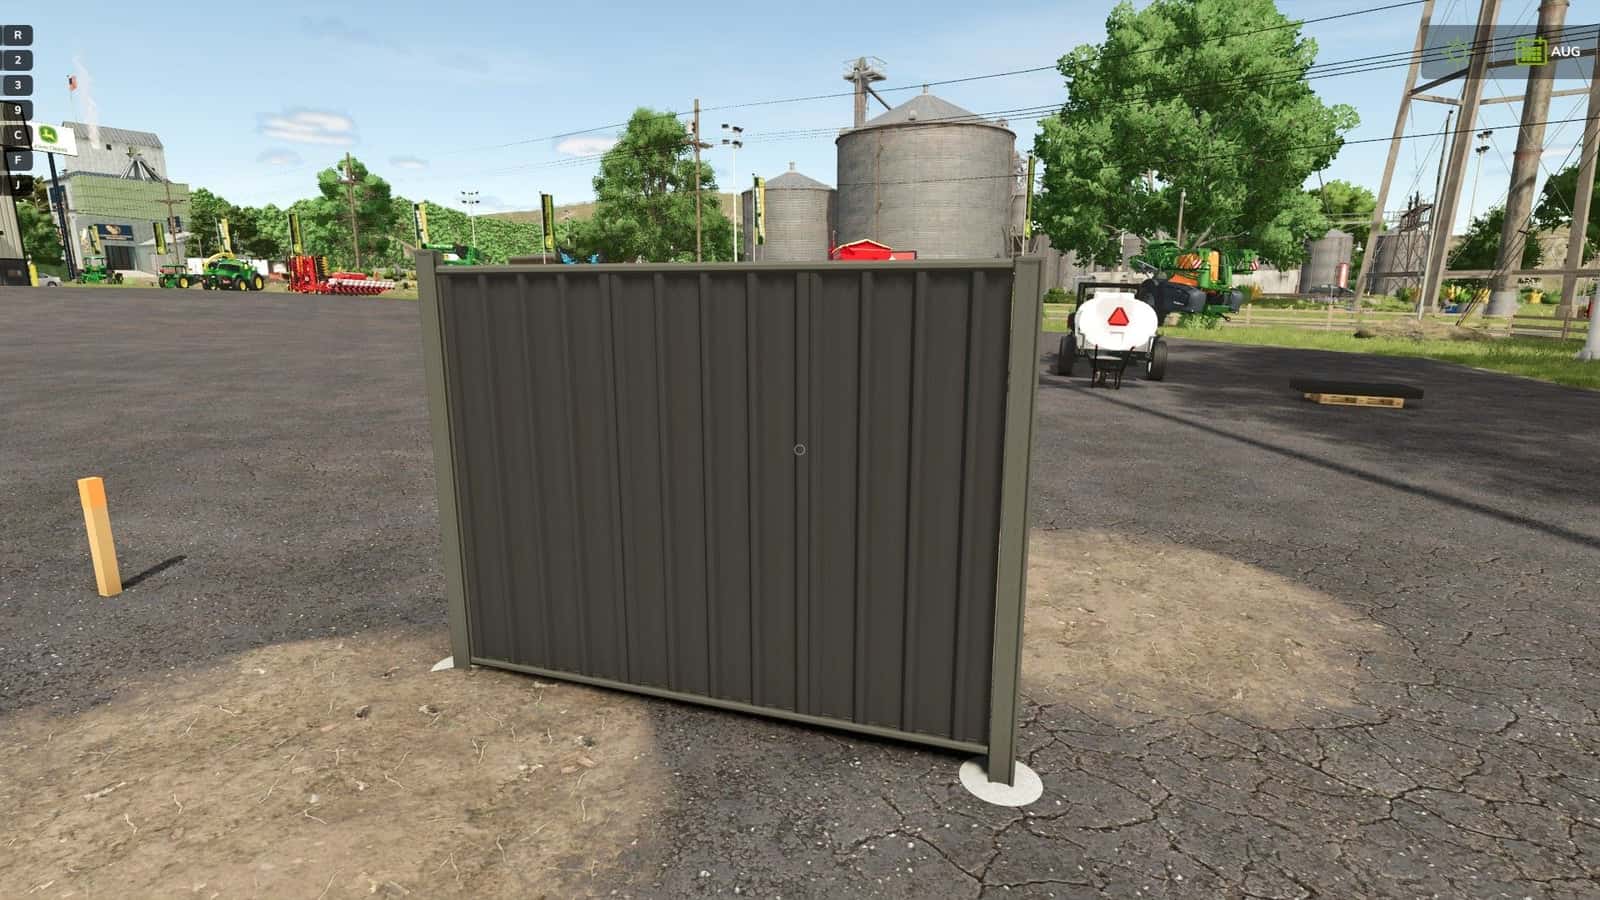
Create Australian Colorbond-style fencing in Farming Simulator 25, starting with an empty work area. Set out the fence using pegs, drill each hole, place and concrete the posts, then add the bottom rails, separate sheets and top rails.
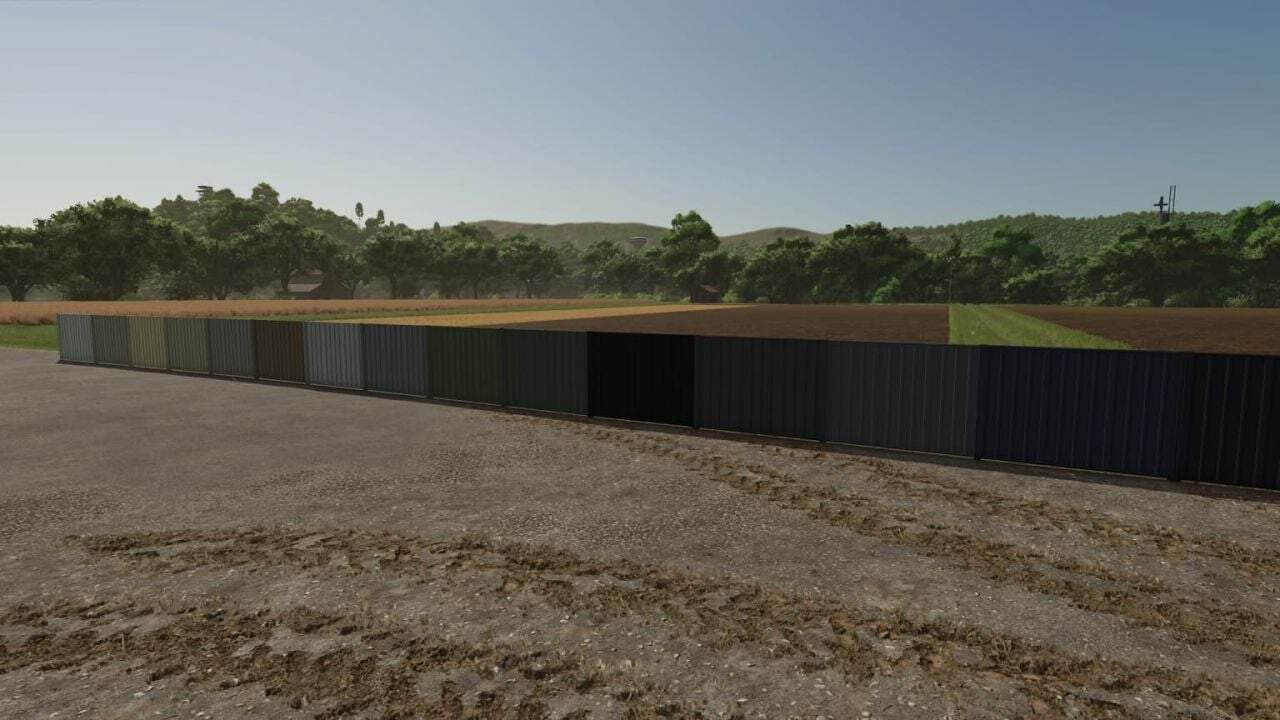
There are 15 fencing colours to choose from. Posts, rails and sheets each have their own colour selection. The construction progress, used materials and curing times are saved.
Features
- Purchase and move the required materials, prepare concrete in a usable wheelbarrow, and use purchased hand tools throughout every construction stage.
- String lines can be reused.
- Every fence bay is 2.4 metres long.
- Fence corners can be planned.
- Excavated dirt can be scooped up.
- Fences can be dismantled manually.
- For single-player use only.
- TerraFarm is not required.
What you need
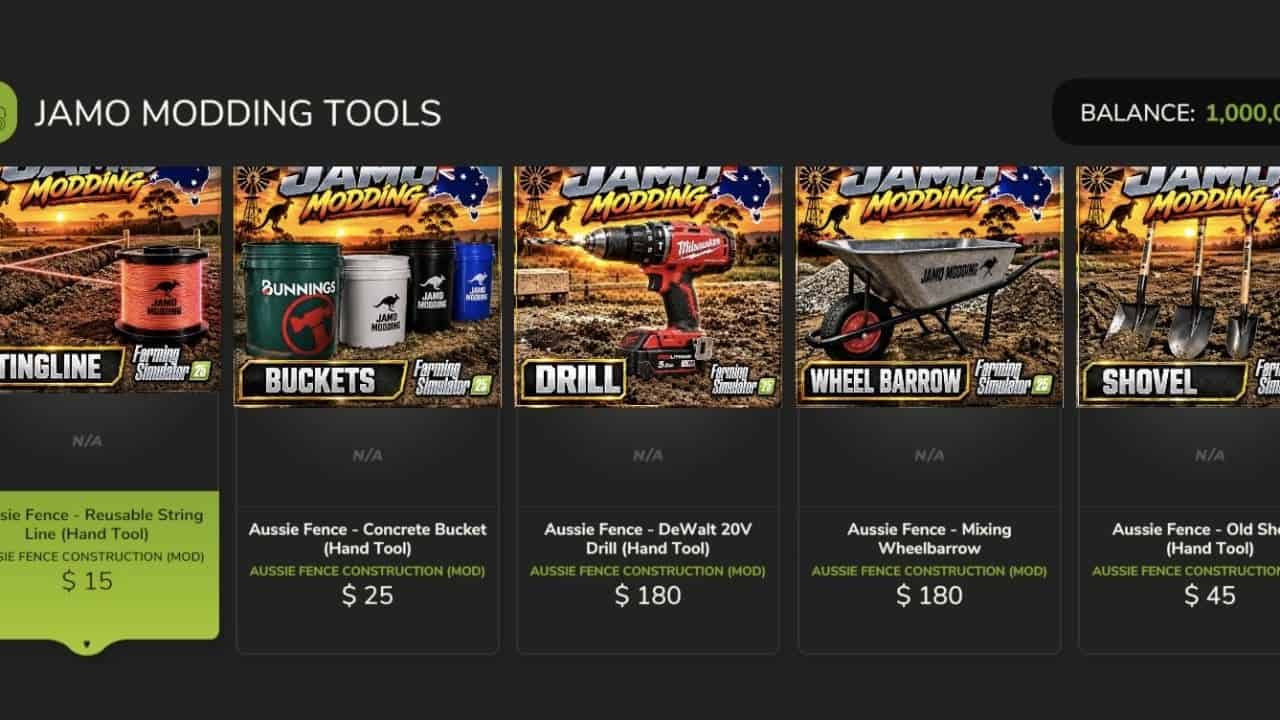
The following tools can be bought from Jamo Modding Tools:
- String-line reel
- Concrete bucket
- Cordless drill
- Old Shovel
- Mixing wheelbarrow
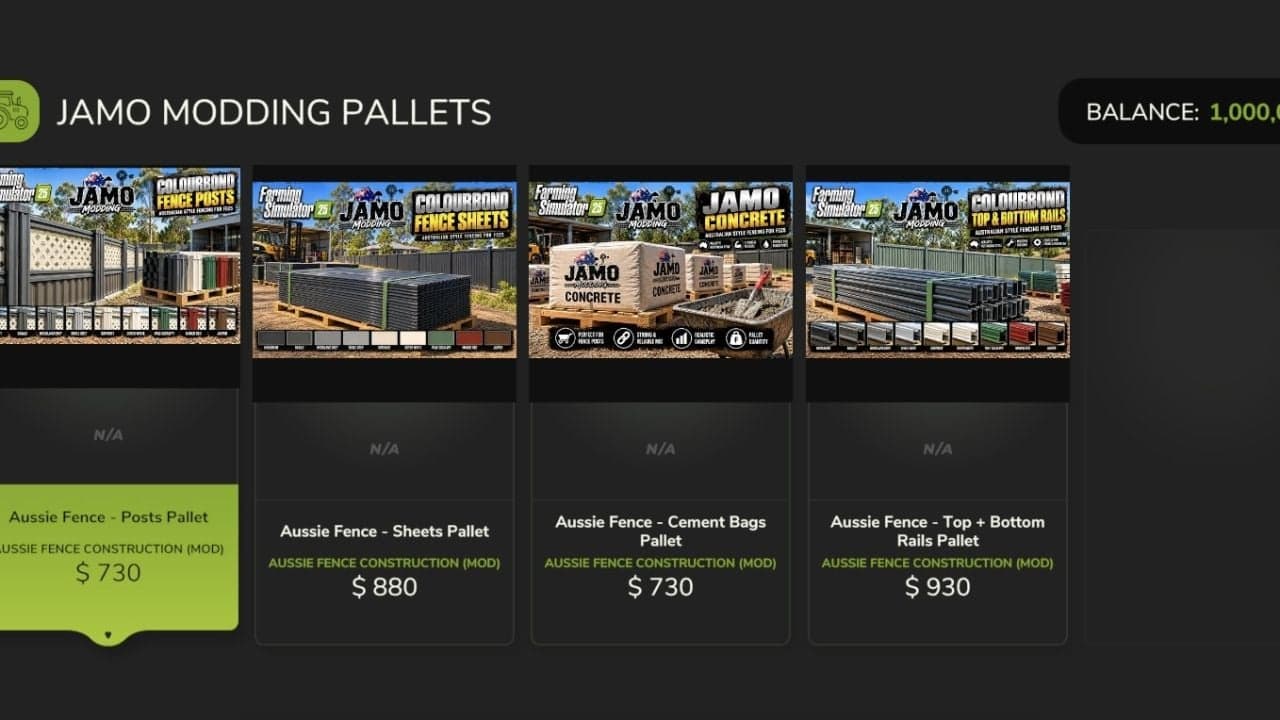
Materials are available from Jamo Modding Pallets:
- Posts: 25, 50 or 75
- Sheets: 25, 50 or 75
- Combined rails: 25, 50 or 75 of each rail type
- Cement: 25 bags per pallet
An owned water tanker containing water is also needed. Bring all supplies to the place where the fence will be built.
How to build your fence
- 1. Place the starter peg.
Go to Construction → JAMO MODS → Placeables and put a fence starter peg on your land. - 2. Plan the fence line.
Leave Construction mode, store the string-line tool and walk up to the starter peg. PressRto start planning. Walk to every corner or endpoint, pressingRat each one to place it. The sections snap into complete 2.4-metre bays. When the last endpoint is placed, pressCtrl + Enterto complete the line. - 3. Attach a string line if wanted.
Take out the purchased reel. At a planned peg or post, pressRto attach its start, then walk to another peg or post and pressRonce more. A reel supports one active span of up to 100 metres. To rewind it for reuse, equip that same reel near either end and pressR. - 4. Drill the holes.
Move to each marked post location and pressRwhen the prompt appears. Remain beside the position until drilling is complete. A compatible loader or skid-steer bucket can collect the excavated material. - 5. Install the posts.
UseRto take a post from its pallet, carry it to a drilled hole and pressRagain to install it. - 6. Prepare the concrete.
Carry one cement bag from its pallet to the empty wheelbarrow, then pressRto empty the bag. Place an owned tanker with at least 20 litres of water within 3 metres and use the water prompt. Equip the Old Shovel and pressRto mix everything. - 7. Concrete the posts.
Fill the purchased bucket from the wheelbarrow while it is equipped. Take the bucket to an installed post and pressRto pour it. Return to the wheelbarrow for more as required. In this mod, one cement bag and 20 litres of water make three hole-filling pours. - 8. Allow the concrete to cure.
The curing period is 60 in-game minutes. Other holes can be worked on during this time. - 9. Fit the bottom rail.
Take a bottom rail from the combined rail pallet and place it between two posts whose concrete has cured. - 10. Install the individual sheets.
Carry a sheet from its pallet to the bay, equip the purchased drill and pressRto install it. Continue with the remaining sheets. Every sheet for that fence project must be installed from the same side. - 11. Fit the top rail.
After all sheets in a bay are in place, collect its top rail and fit it.
Controls
| Control | Action |
|---|---|
R |
Interact, take/return materials, start or stop work |
Ctrl + Enter |
Finish the planned fence line |
Ctrl + Backspace |
Undo the last planned corner |
Ctrl + Delete |
Cancel the planning draft |
Ctrl + X |
Toggle building/dismantling near a fence |
Ctrl + R |
Take/return recovered materials near the original starting position |
E |
Enter or exit the wheelbarrow |
W/A/S/D |
Move and steer the wheelbarrow |
C |
Change vehicle camera |
Select and equip purchased tools with the normal FS25 hand-tool controls. Your own key bindings may differ.
Helpful notes
- Work on foot and remain close to the component you are using.
- Only carry one material item at a time. To return it, take it back to its source pallet.
- Before loading, mixing or filling the bucket, get out of the wheelbarrow.
- Complete the planning before saving, as unfinished planning drafts are temporary.
- For dismantling, activate dismantling mode and follow the prompts, beginning with the top rail.
YOU NEED: Store Category (Jamo Modding)